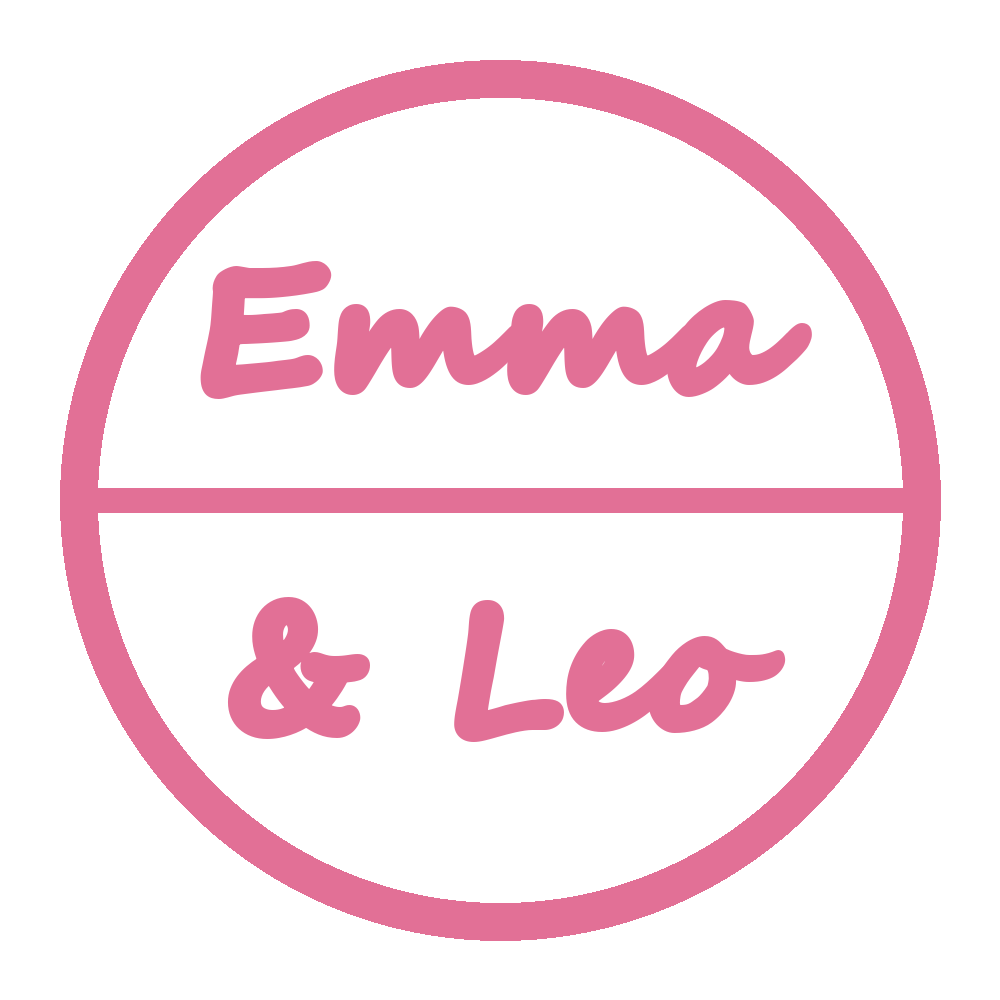
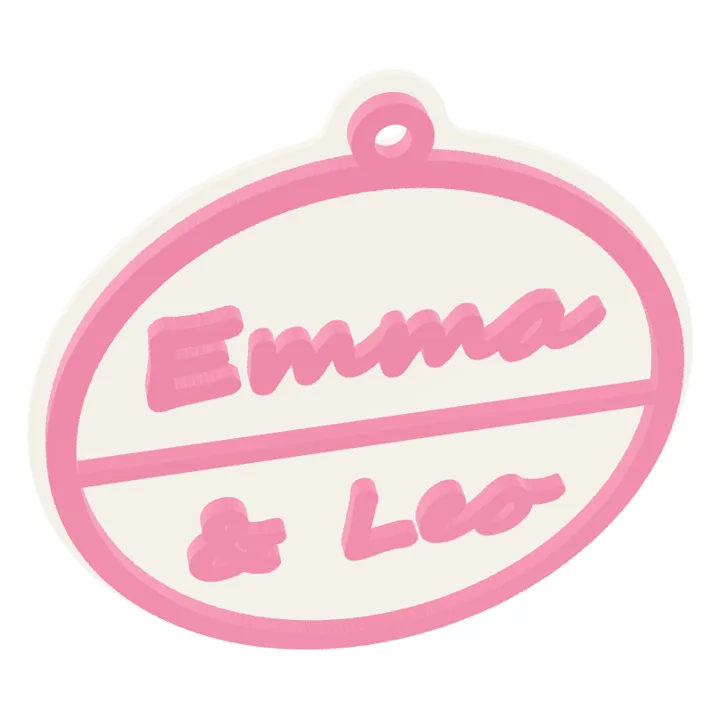
Script names ornament
- Size
- 84 x 91 x 3.6 mm
- Typical thinnest stroke
- 2.36 mm
- Spots under 0.8 mm
- 0
- Parts without a plate
- 6
- Triangles
- 21,188
- STL size
- 1035 KB
Turn a flat PNG into an STL that prints. The outline is traced from the pixels instead of redrawn, so names and lettering keep the shape they have in your picture.
Or start from a sample
Add an image or pick a sample. The preview builds in your browser and is free; the image is not uploaded.
Preview free. Downloading the same design again is free.
A PNG to STL converter of this kind does not guess at depth. It decides which pixels belong to the design, follows their edge, and pushes that outline straight up into a solid of the thickness you choose. Every letter keeps the shape it has in the picture; only the stair steps of the pixel edge are smoothed.
Three ways of turning an image into a printable file exist on this site, and a lithophane is a fourth you may have seen elsewhere; they suit different pictures. Tracing is the right one when the picture is already flat artwork; it is the wrong one for a photo.
| Method | What the file is | Best for | Not for |
|---|---|---|---|
| Trace and extrude (this page) | A flat plate in the exact outline of the picture | Logos, names, signs, keychains, cookie-cutter shapes | Photos of real objects; anything that needs real depth |
| AI image to 3D | A full 3D object, with the back side inferred | Figurines, toys, products, characters from a photo | Lettering: the model redraws text it cannot read |
| Lithophane | A panel whose thickness follows brightness | Photos meant to be lit from behind | Logos that should read with the light off |
| Multicolor 3MF | A model split into 2 to 8 filament colours | AMS or MMU prints of a picture | Single-colour printers |
In early October 2026 a customer told us the text on their model was unreadable. The model came from our own image to 3D generator, and the picture was a pink Christmas ornament carrying three family names in script lettering. The frame, the bow and the flowers came back well; every name came back as invented letters that only looked like writing. A generative model rebuilds the shapes it recognises and redraws the rest. Tracing the same picture kept every letter, because tracing follows the outline and does not interpret the picture. We do not show that ornament here because the names are the customer's family; the script names sample below was drawn to reproduce the same case.
Size, separate parts and triangles are read from the finished file you are about to download. The stroke width is measured on the traced outline at the width you set.
| Line | What is measured | What to do about it |
|---|---|---|
| Thinnest stroke | The typical width: twice the distance from the middle of each shape to its edge, at the narrowest 5 percent of the design. Separately, every spot narrower than 0.8 mm is counted, so one short thin join between two letters is reported even when the rest of the design is thick. | Below 0.8 mm a 0.4 mm nozzle lays down fewer than two lines and the stroke prints thin, breaks or vanishes. Make the design wider or the lettering bolder. |
| Separate parts | How many solids the file holds. The dot of an i, the inside of an O drawn as a separate shape and letters that do not touch each other are each their own part. | Turn on the backing plate. Without it, every separate part is a loose piece on the print bed. |
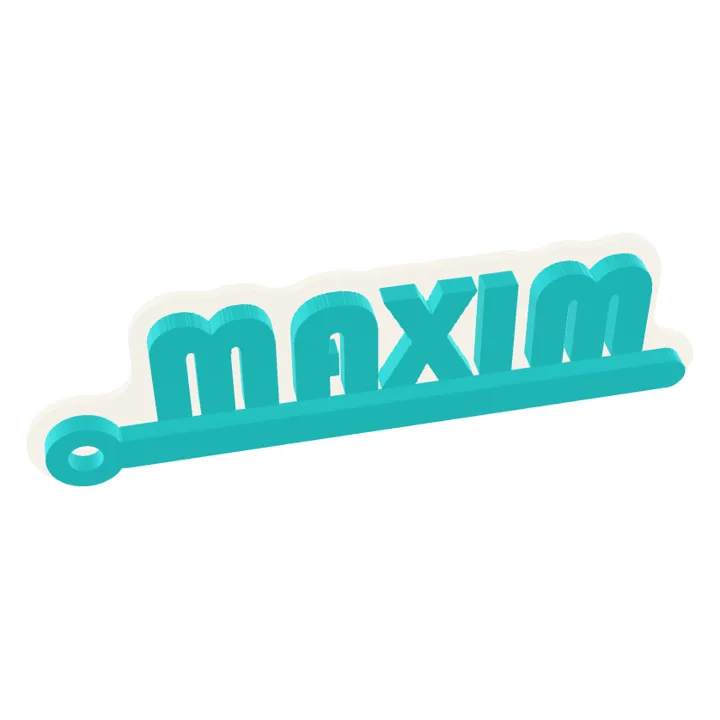
| Hanging loop | A ring with a 4 mm hole, welded 2 mm into the highest point, or into the left end of a wide design such as a keychain. | If the loop lands on a thin stroke, raise the thickness or add the backing plate so the loop has more to hold on to. |
| Closed solid | The file is built with a geometry kernel that only produces closed, non-overlapping solids, so a slicer does not need to repair it. | Nothing to do: open it in the slicer as it is. Check the size against your print bed before slicing. |
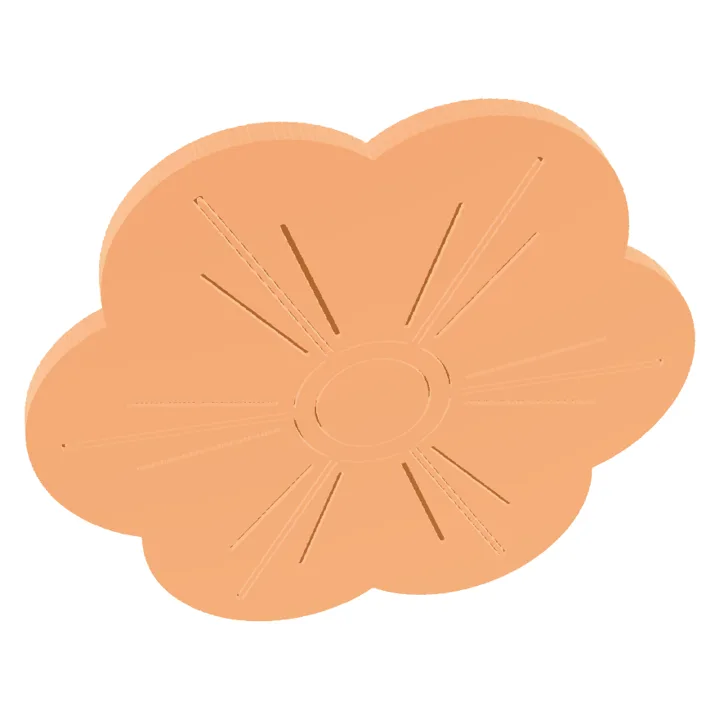
| Detail lines | Lines inside the shape that are clearly darker than their surroundings, such as shading between petals, engraved 0.6 mm into the top face. | A flat-colour logo has none, which is expected. Lines that run into the outline are left out so they do not cut notches into the edge. |
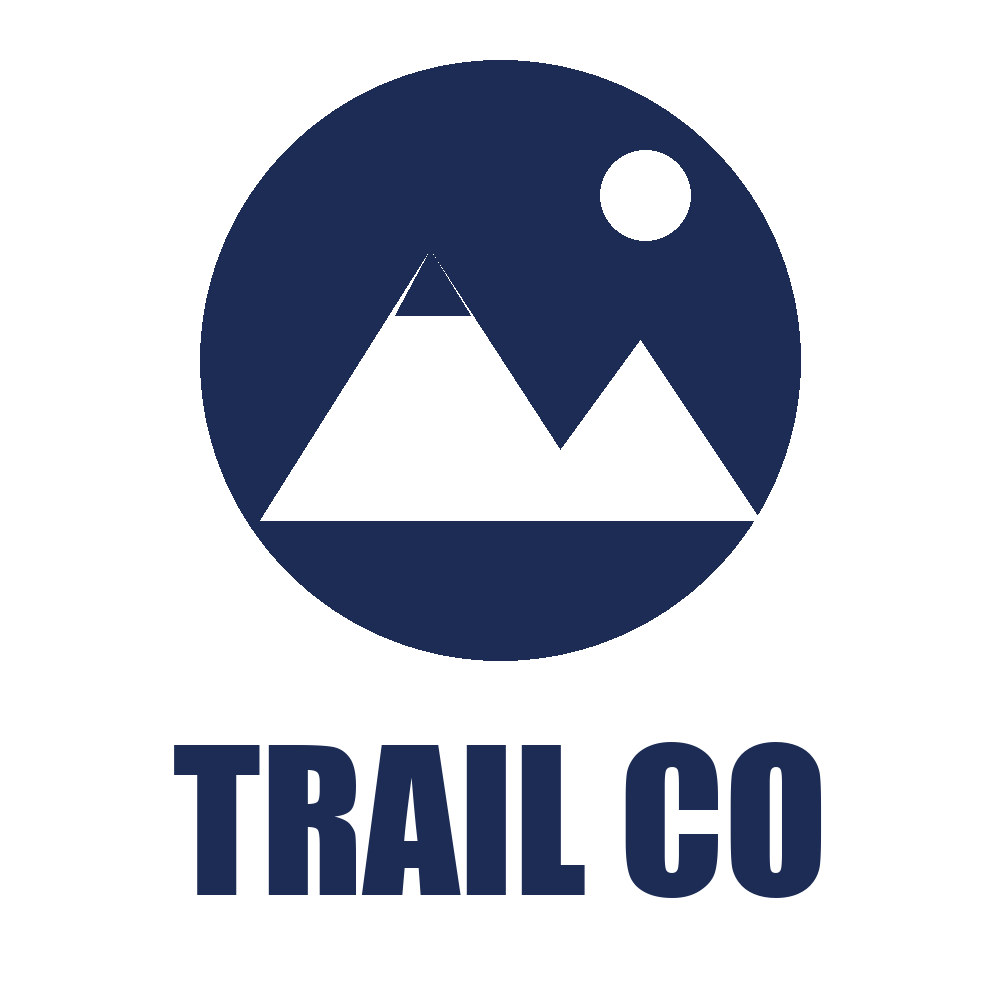
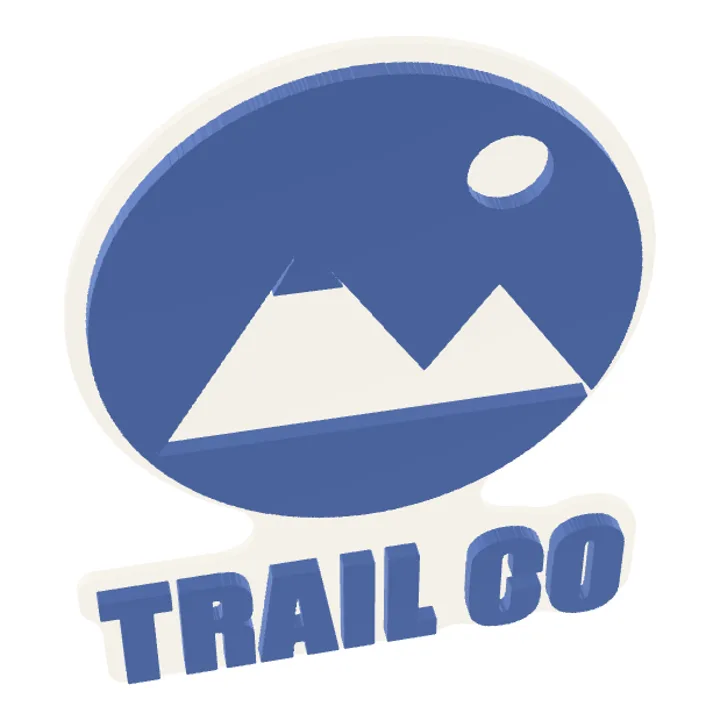
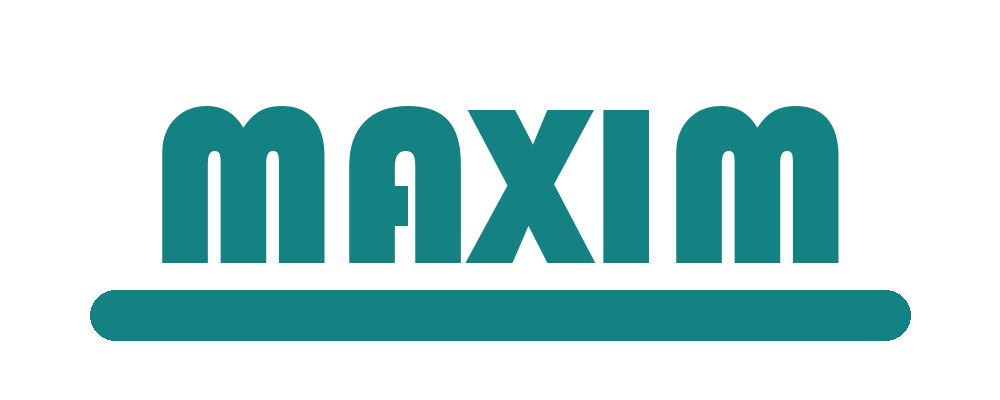
We drew these four images ourselves and ran each through this tool on 2 October 2026. The left image is the PNG; the right is a render of the STL it produced, with the backing plate in white where one was used. The numbers come from the same run.

| Tracing and the 3D preview | Free, no account, the image stays on your device |
|---|---|
| One STL download | 3 credits |
| The same design again | Free: same image and same settings |
| A new account | Starts with 3 credits, enough for one STL |
| Credit pack | $9 for 150 credits, which is 50 STL downloads. Credits also pay for AI 3D models; see all plans and packs. |
Add the PNG to the tool at the top of this page. It separates the design from its background, traces the outline and raises it into a solid, and a 3D preview appears within a few seconds. Set the width in millimetres and the thickness, turn on the backing plate if the print check reports separate parts, and add a hanging loop if it is a keychain or an ornament. Then download the STL and open it in your slicer like any other model.
Tracing, the 3D preview and the print check are free and need no account, and your image never leaves your device while you try settings. Downloading the STL costs 3 credits. A new account starts with enough credits for one STL, and downloading the same design again with the same settings is free. After that, a $9 pack covers 50 downloads, and the credits also work for AI 3D models on this site. Credits in a pack do not expire.
Not directly. Tinkercad imports SVG files and extrudes them, but it does not trace a PNG, so the usual route is PNG to SVG in Inkscape or another tracer, then the SVG into Tinkercad, then export. That is three programs and a tracing step that often leaves gaps. This tool does the tracing and the extrusion in one place and shows a print check before you download, so you can skip the SVG step for logos and names. The STL it writes imports into Tinkercad as an ordinary shape if you want to combine it with other parts.
Load the logo, set the width to keychain size, for example 50 to 70 millimetres, and a thickness of 2.5 to 3 millimetres. Turn on the backing plate so letters that do not touch stay attached, and turn on the hanging loop: on a wide design it goes on the left end, otherwise on the highest point. The loop has a 4 millimetre hole for a split ring. If you want the plate and the logo in different colours, change filament at the layer where the plate ends.
In a cut-out, the hole in an o is empty space and that is fine. The problem is any part that does not touch the rest: the dot of an i, the counter of a letter drawn as a separate shape, or letters that stand apart from each other. Each of those is its own piece on the bed and falls out of the finished print. The print check counts these parts. Turning on the backing plate puts one plate under the whole design, so every piece is held in place.
That warning usually means the converted file has pieces or surfaces that are not attached to anything below them, which many online converters produce from logos with separate letters or with broken, non-closed meshes. The file this tool writes is built as closed solids with every part standing on the plate, and the print check tells you how many separate parts there are before you download. If there is more than one, use the backing plate and the warning has nothing to report.
Yes, as long as they are readable in the image. Tracing follows the outline of the pixels and only smooths the stair steps of their edge, so a script name keeps the shape it was drawn with. Lines thinner than about two pixels in the image can disappear, so start from a reasonably large picture. That is the difference from AI image to 3D, which rebuilds what it recognises and tends to redraw lettering into shapes that only look like writing. The thing to watch with script fonts is stroke width: the thin joins between letters are often the thinnest part of the design, so check that line of the print check.
Aim for at least 0.8 millimetres, which is two extrusion widths, for anything that has to stand up on its own. Thinner strokes print as a single wall or vanish in the slicer preview, and narrow joins in script lettering break when the print comes off the bed. The print check measures the stroke width at the size you set and counts every spot under that, including short joins between letters. If it is too thin, make the design wider, choose a bolder font, or add the backing plate so thin parts are supported from below.
Usually. Every image is resampled to 1000 pixels on its long side before tracing and the outline is smoothed, so a small but clean logo traces well. A blurry one has soft edges, and the background cut-off decides where the edge falls: raise it if the outline grows a halo, lower it if thin parts disappear. Heavy JPEG noise on a busy background is the case that does not work; in that case remove the background first and save a PNG with transparency.
No. A lithophane turns brightness into thickness, so a photo appears when light shines through the panel; it reads poorly with the light off. Tracing turns the shape of a flat design into a solid of even thickness, which reads in normal light and suits logos, names and signs. If you have a photo for a lamp or a window, a lithophane is the method you want; this site does not make them. If you have a photo of an object, the AI image to STL route makes a full 3D model.
JPG, PNG and WebP all work, and a PNG with a transparent background is the most reliable input because the transparency already marks the design. SVG is not read directly: open it in any browser or image editor, export it as a PNG at about 1000 pixels wide, and load that. The result is the same, because the tool works from the rendered outline either way. A photo is accepted too, but tracing a photo gives a flat silhouette of everything that differs from the background, which is rarely what you want; use a lithophane or AI image to 3D for photos.
Choosing between tools? Meshy vs Tripo vs Sculptly: what a 3D model costs and what you can print.